
HOW TO MAKE ICE CREAM IN A BAG FOR KIDS
I think most kids love ice cream, but it’s definitely not a parent’s favorite healthy snack. In a world where there are so many better alternatives, parents rarely like to opt for ice cream if they can help it. Store-bought ice cream especially contains things like artificial ingredients, fake thickeners, unnatural stabilizers, and artificial colors. Yuck! Do I need to go on? I don’t think you want to hear more!
However, when you make ice cream from scratch with your kids, you get a few benefits! First of all, it’s healthier (not necessarily “healthy,” but better than Ben & Jerry’s). Second of all, you know everything that’s going into it—no weird 14-letter ingredients you can't pronounce. And, lastly, and most importantly, you can turn it into a bonding and learning experience for your kids!
Whether you’re looking for a tasty summer treat to make together or an interactive science experiment for your homeschool curriculum, making homemade ice cream is fun and educational for kids and adults alike.
Better yet, you can do it at home without an expensive ice cream maker. You just need some basic ingredients and a few Ziploc bags.
Here’s a kid-friendly, easy, homemade ice cream recipe that you can make in a resealable plastic bag, no fancy ice cream maker needed:

How To Make Ice Cream in a Bag For Kids
Ice Cream In A Bag Ingredients
1 cup of half & half (or heavy cream)
Ice
¼ cup of rock salt (or table salt)
1 sandwich or a quart-sized Ziploc bag
Sugar
Healthier mix-in ideas:
Crushed strawberries (or any berries)
Sliced bananas
Diced mangos
Raisins
Coconut
Mint extract
Vanilla extract
Granola
Cinnamon
Fun mix-in ideas:
Chocolate syrup
Strawberry syrup
Chocolate chips
Oreos
Carmel
Sprinkles
Candy Bars

Ice Cream in a Bag Instructions
Step One: Pour half & half into a small Ziploc bag.
Start by pouring the half & half or heavy cream in a small bag. You’ll want to go with a sandwich or quart-sized Ziploc bag—the slider ones work the best.
Step Two: Add sugar, flavorings, and mix-ins.
Now, it’s time to make it tasty! Add granulated sugar as a minimum, but you’ll also need some sort of flavorings or mix-ins. A personal favorite at our house is banana chocolate ice cream!
Go with granola, fresh fruit, syrups, candy bars, or just vanilla extract if you want to keep it really simple with plain vanilla ice cream. I always start with sugar and vanilla to create a good base and add from there.
To make it really fun, portion out all the ingredient options like a buffet and let your little ones create their perfect creamy concoction!
Step Three: Get as much air out as possible and zip the bag shut.
Next, get out as much air as possible and seal up the bag. Double-check your kids’ bags are sealed to prevent a big mess once you start shaking.
Step Four: Put ice and salt in a larger bag.
Then, in the gallon-size bag, add enough ice to fill it up halfway. Pour in your rock salt too.
Step Five: Put the small bag into the large bag.
Put your smaller bag inside your larger bag. Again, get out as much air as possible and seal it! (That’s why I prefer to double bag with slider bags.)
Step Six: Put on gloves and shake the bag.
Next, everyone needs to get some gloves on. Just thin winter gloves will work fine!
The ice and salt together just make the bags extremely cold and potentially dangerous to your little one’s skin.
And, then comes the fun part! Shake the bag for 10-15 minutes. You’ll see the ice cream get thicker as you do this.
Bonus tip: Make it extra fun by playing some music and dancing while you shake the ice cream to life with your kids!
Step Seven: Rinse the salt off the smaller bag.
When the ice cream is ready to go, pull the smaller bag out of the gallon bag and rinse off any salt in cool water.
Step Eight: Mix the ice cream with a spoon.
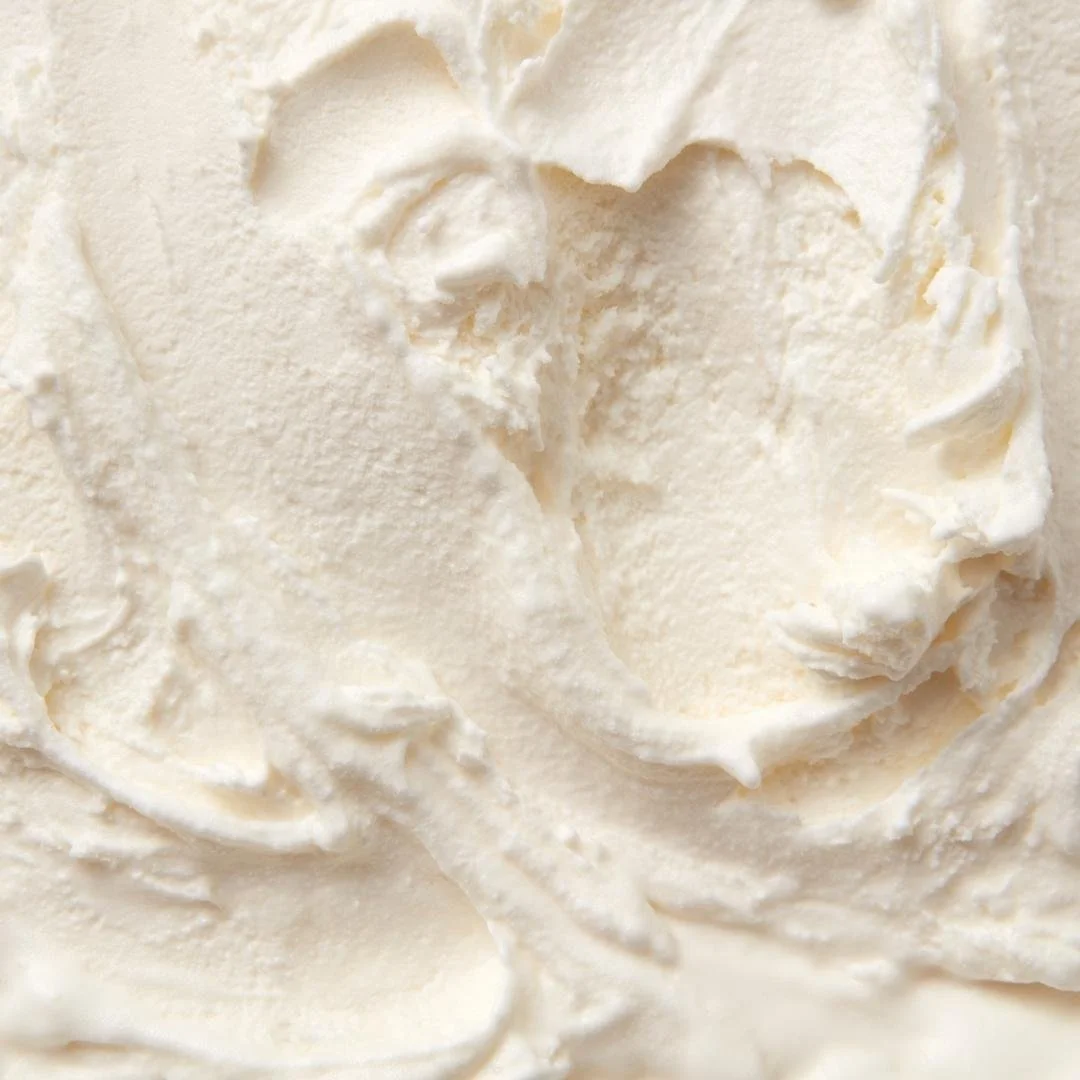
Finally, open the bag and mix the ice cream a little bit more with a spoon. It’ll look icy initially, but as you mix, you’ll get that creamier texture you’re looking for.
Step Nine: Enjoy!
Serve up the ice cream and enjoy!

Dairy-Free Ice Cream in a Bag
Here at Mothercould, we understand that not all kids are tolerant of dairy, and for those that are not, we are sharing a quick guide on how to make ice cream in a bag dairy-free. Here are some tips to make this great recipe dairy-free!
Use dairy-free alternatives for half & half, such as coconut cream, almond milk, soy milk, or oat milk.
Opt for dairy-free sweeteners like maple syrup, cane sugar, or agave syrup.
Choose flavorings and mix-ins that are dairy-free, like fruit, nuts, granola, or dairy-free chocolate chips.
Ice cream in a bag is fun and delicious for the whole family
Cooking is a great way to teach your children lots of life skills in a fun, practical, and sensory-friendly way. You can make this ice cream with almost any age group and turn to it again and again for an easy afternoon snack. If you’re in search of more recipes and sensory activity ideas, check out the blog and download the Mothercould in Your Pocket resource. I have tons of sensory activity guides to keep your family busy and bonding!