
HOW TO MAKE PLAY MUD
Sensory play is such a hugely important part of your child’s development. In fact, there is a very strong link between cognitive development and sensory play. Sensory play fosters cognitive, social, and emotional growth in a way other play just can’t!
Engaging your little one’s mind in activities that stimulate the senses and provide hours of entertainment is a sure way to encourage their developmental health. My blog is full of ways to encourage sensory play, but one of my family’s favorite sensory activities is playing in the mud! However, it is super understandable that not all parents want to deal with the mess that comes with real rainy-day mud play.
In response to this, I decided to share my play mud recipe with you all! It’s taste-safe, dirt-free, and gives you all the sensory benefits of the real thing using cocoa powder, cornstarch, and water.
Here’s the recipe:

How To Make Play Mud
Materials
Whisk
1-2 cups of water (add gradually until you achieve the desired consistency)
1 cup of cornstarch
1 cup of cocoa powder
Optional: 1-2 teaspoons of vanilla extract (for scent)
How To Make Mud for Play
Step 1: Gather materials.
Get started by gathering all of your materials. You will need everything listed above to get the most out of this sensory experience.
Step 2: Mix dry ingredients.
In a mixing bowl, combine the cocoa powder and cornstarch. Begin with the 1:1 ratio. Later, you can add more of either ingredient to adjust the consistency of your play mud.
Step 3: Add water.
Now you just need to add water. While stirring continuously, gradually add water to the dry ingredients. Don’t pour it all in at once, because you need to gauge the consistency as you go. Adding too much could result in runny play mud that’s not so fun to play with.

Step 4: Add vanilla extract (optional)
While real mud doesn’t smell particularly pleasant, you can introduce an extra sensory element by adding a few drops of vanilla extract into the mixture. I recommend 1-2 teaspoons!
Step 5: Adjust consistency.
Here, check the consistency of the mixture. If it isn’t combining and is too dry or too thick, gradually add more water. If it is feeling or looking too wet, add some more cocoa powder and cornstarch in equal parts. Continue until you get the perfect texture!
Step 6: Playtime!
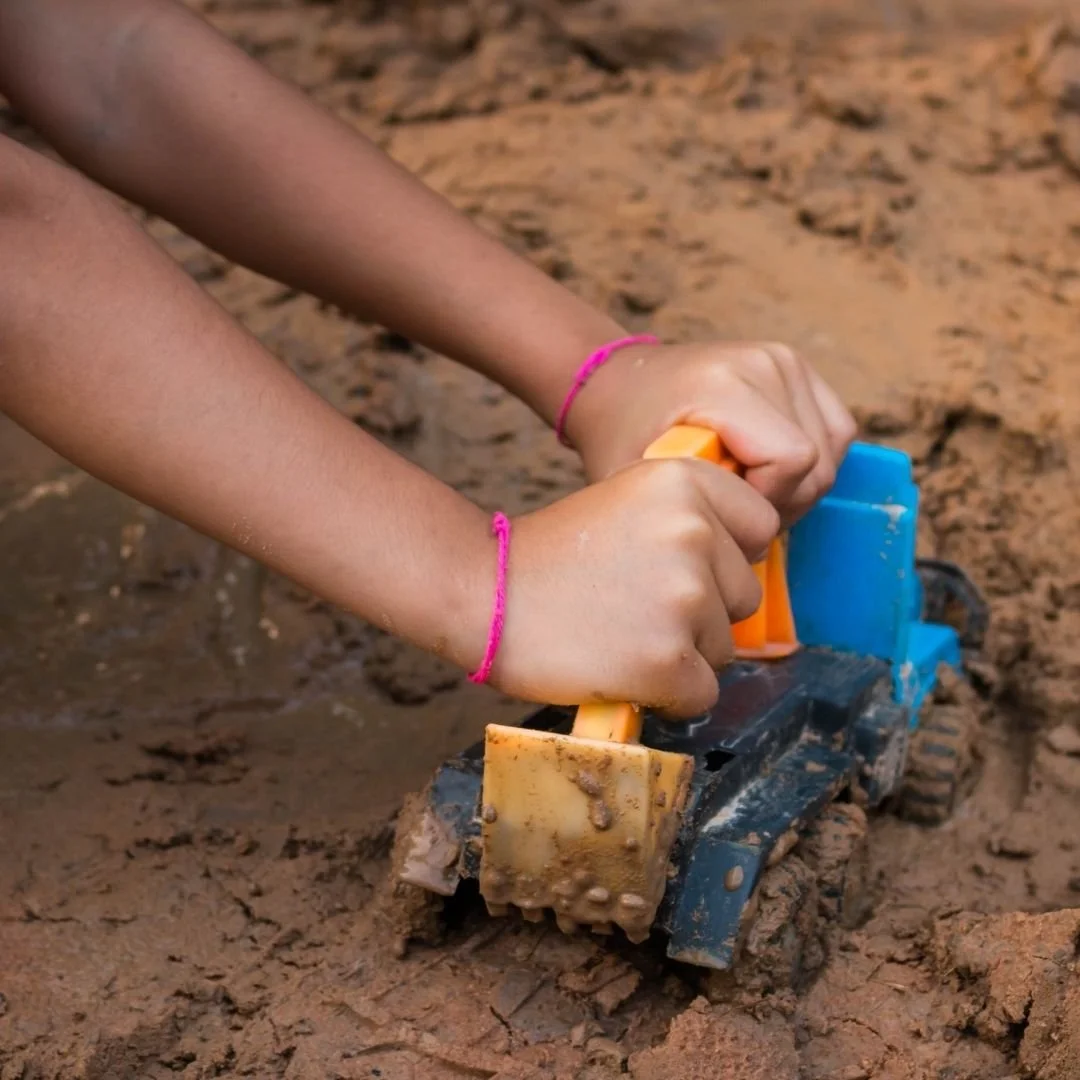
Now we get to the fun part! With the play mud ready to go, it’s time for your kids to enjoy their sensory play experience. You can give them some small tools or let them use their hands to mold and shape the scented mud. Either way, you’ll definitely want this play mud contained in a sensory table!
Remember to keep an eye on your little ones while playing with the fake mud. Though this is a taste-safe recipe, it is intended for play and not for consumption in large amounts, just like most taste-safe sensory recipes on the blog.
Step 7: Store or disperse.
If you want to use the play mud again, you can store it in an airtight container and keep it in the fridge. Luckily, if you don’t have space in the fridge, this is a very easy and quick sensory play recipe that is also cost-effective.

Mud Sensory Bin: Tips and Tricks
Choose the Right Container
A shallow plastic storage bin, sensory table, or large tray works best for this activity. The container should be wide enough for scooping, pouring, and molding, but shallow enough that little hands can easily reach the mud without tipping it everywhere or submerging their little arms completely.
Use Some Loose Parts
Adding items like toy animals, trucks, leaves, stones, or sticks can spark imaginative play. Your child might build roads, create habitats, or invent stories, turning sensory play into a full pretend-play experience.
Add Simple Tools
Include fun, child-safe tools like spoons, measuring cups, small bowls, paintbrushes, or silicone spatulas. These encourage fine motor development and give kids multiple ways to interact with the play mud beyond just using their hands.
Set Clear Play Boundaries
Explain where the mud stays and what it’s for before play begins. Keeping the mud inside the bin helps children understand boundaries while still allowing them freedom to explore and experiment.
Place the Bin Strategically
Set up the sensory bin outdoors, on a washable floor, or over a mat or towel. This allows you to relax and enjoy watching your child play without worrying about cleanup.
Benefits Of Mud Play
Builds Fine Motor Skills
As I said above, mud play offers so much more than just messy fun. Whether it’s real mud or a taste-safe alternative, this type of sensory activity supports development across multiple areas while keeping kids fully engaged and constantly learning.
Supports Cognitive Development
Mud play encourages problem-solving, experimentation, and cause-and-effect learning. Children test textures, mix materials, and adjust consistency, all of which strengthen early cognitive skills.
Supports Emotional Regulation
Sensory play like mud play can be calming and grounding for children. The repetitive motions and tactile feedback help some kids regulate emotions, reduce stress, and feel more centered.
Encourages Creativity and Imagination
Mud is what I like to call an open-ended material, which means there’s no “right” way to play. Children can pretend it’s food, building material, potions, or landscapes, allowing their imagination to lead the experience.
Your kids will love this messy sensory activity, and so will you!
Letting your little one play with play mud opens the door for them to use their creativity, imagination, and exploration skills. From fine motor coordination to imaginative expression, there are SO MANY benefits of sensory play. This dirt-free alternative ensures that your kids can enjoy mud play without having to wait for a rainy day.
For more awesome ideas, check out other sensory play recipes on the blog like my goop or jelly slime! But, for all the best activities and hacks download my Mothercould in Your Pocket resource. You won’t find a better resource to help you fill every day with beneficial sensory play! Happy playing!