
HOW TO MAKE PUTTY: A CREATIVE, KID-FRIENDLY PROJECT
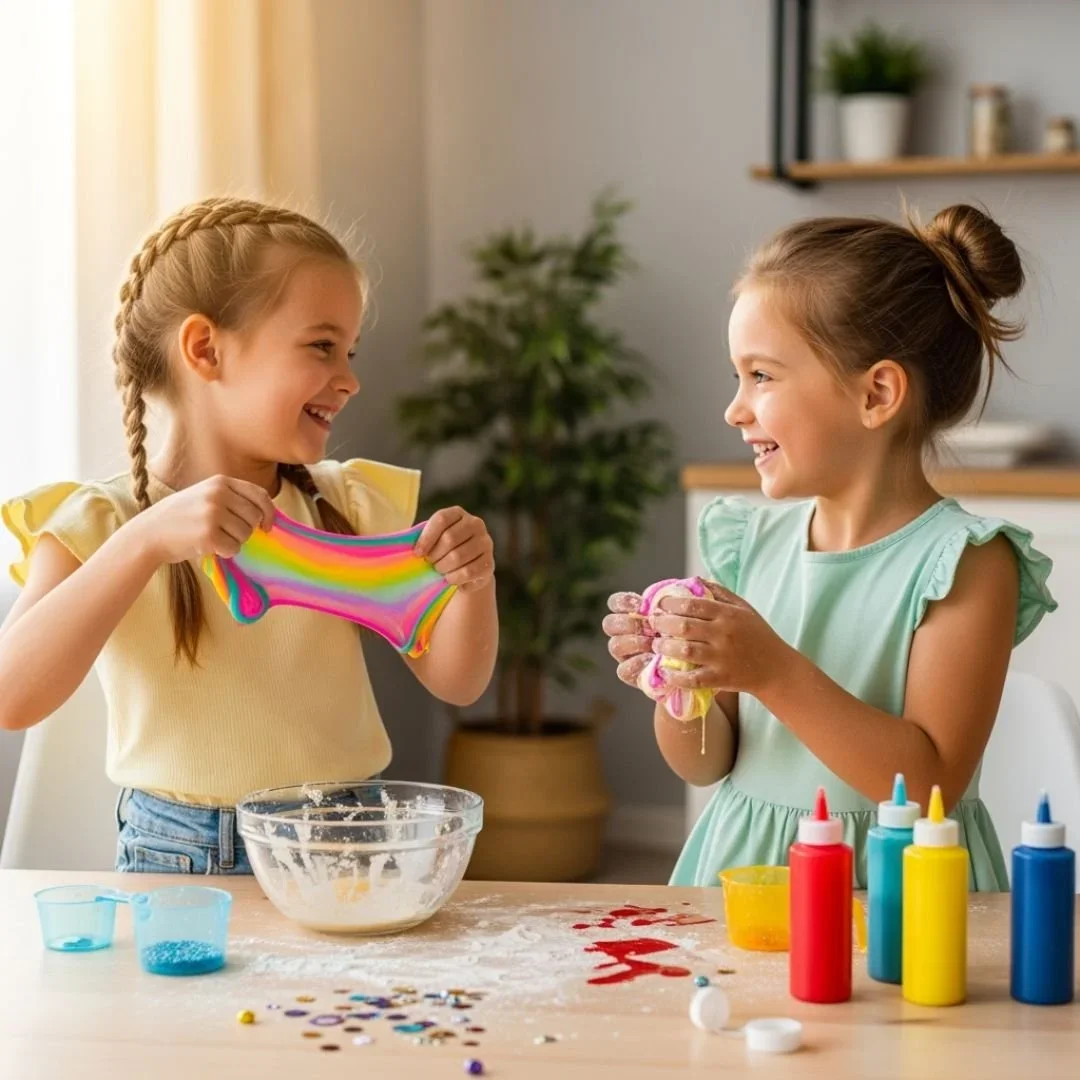
Whenever I’m looking for an easy, budget-friendly way to keep my kids calm, engaged, and creative, I reach for my silly putty recipe. Seriously! I know it’s easy as parents to feel like we need intricate activities and expensive gadgets, but that couldn’t be farther from the truth. Sometimes, household items and a few simple kitchen staples work just as well—if not better!
That’s what makes silly putty a go-to in our house: it doesn’t take a lot of time to make but still checks off all the boxes. My kids love it because it’s soft, stretchy, and squishy—and it provides hours of entertainment. I, on the other hand, love it because it’s sensory-rich, endlessly reusable, and, believe it or not, developmentally beneficial!
And best of all? When you make putty at home, you don't have to worry about mystery ingredients or harsh chemicals! That’s why today, I’m walking you through a simple DIY putty recipe. You don’t need a Pinterest-perfect setup or special crafty skills—just a few kid-friendly ingredients and some eager little hands.
How to Make Putty: A Creative, Kid-Friendly Project
When it comes to sensory play, textures are everything. They’re how kids explore, experiment, and make sense of the world around them! And if there’s one texture that always feels like an instant hit, it’s something kids can squish, mold, and squeeze. That’s why I’ve shared everything from how to make chia slime to a homemade play-dough recipe—and now, I’m excited to add putty to the mix!
But before we dive into how to make it, I want to quickly discuss what putty is and why it’s such a valuable tool for kids. While the texture is a huge part of the appeal, it’s also a purposeful, hands-on material designed as squishy fun!
What Is Putty?
From the satisfying squishiness of oobleck to the soft, moldable texture of kinetic sand, we’ve incorporated all kinds of textures into sensory activities—and each one offers a totally unique experience! So how does putty compare, and what exactly is it?
Putty is a flexible, squishy material that’s similar in texture to playdough or slime. The only difference is that putty has a little more stretch and a lot more resistance! Because of this, it’s firm enough to hold a shape for a bit, but it’s still easy to shape, roll, and squeeze. This adaptability is what makes it the perfect material for kids of all ages!
Beyond that, putty is an extremely versatile activity that fits a variety of different needs. It can be used to calm the senses before bedtime, keep little hands busy during long car rides, or build motor skills through simple play.
And just as important (especially for parents!), this material tends to be much lower maintenance than others. This means you deal with half the mess, but the little ones still get to have all the fun! And since you’re making it at home, you can adjust the texture to your children’s preference (and your tolerance for clean-up).
What Is Putty Used for in Sensory Play?
As fun as putty is to play with, it’s also a powerful tool in sensory development! Here are some of the benefits you can expect when incorporating it into play:
Strengthens fine motor skills: Whether it’s brushing their teeth, tying their shoes, or writing at school, kids rely on strong fine motor skills to get through the day. Playing with putty helps build those small hand muscles, improving grip and control over time!
Improves hand-eye coordination: This cognitive ability is essential for processing visual information and responding with coordinated movement. As kids watch themselves stretch and shape putty, they strengthen the hand-eye connection in the brain!
Encourage problem-solving: For little ones to overcome obstacles, they have to understand how to find solutions on their own. You can work on this with them by adding items into the putty and asking them to use tweezers (or fingers) to get everything out!
Fosters creativity and imagination: Open-ended play is incredibly beneficial for encouraging imaginative thinking and creative expression. With putty, kids can shape it, create patterns, or engage in pretend play.
Helps with language development: Whenever kids play with something, especially a new material, they’ll want to tell you all about it. How cool or warm it is, how it feels in their hands, whether they like or dislike it—everything! Putty encourages children to practice descriptive language and action verbs. You can encourage this by asking questions like, “How does the putty feel when you squeeze it?”
Supports sensory regulation: Ultimately, playing with putty is fantastic for regulating tactile input. Focused, repetitive motions (like stretching or squeezing) act as a fidget tool that promotes self-awareness and calming sensations. This is exactly why it can be used before bed or during quiet time!
How Do You Make Putty?
Making homemade silly putty truly is one of the easiest, quickest, and most rewarding projects! It works great whether you need a last minute activity or a reliable, exciting material.
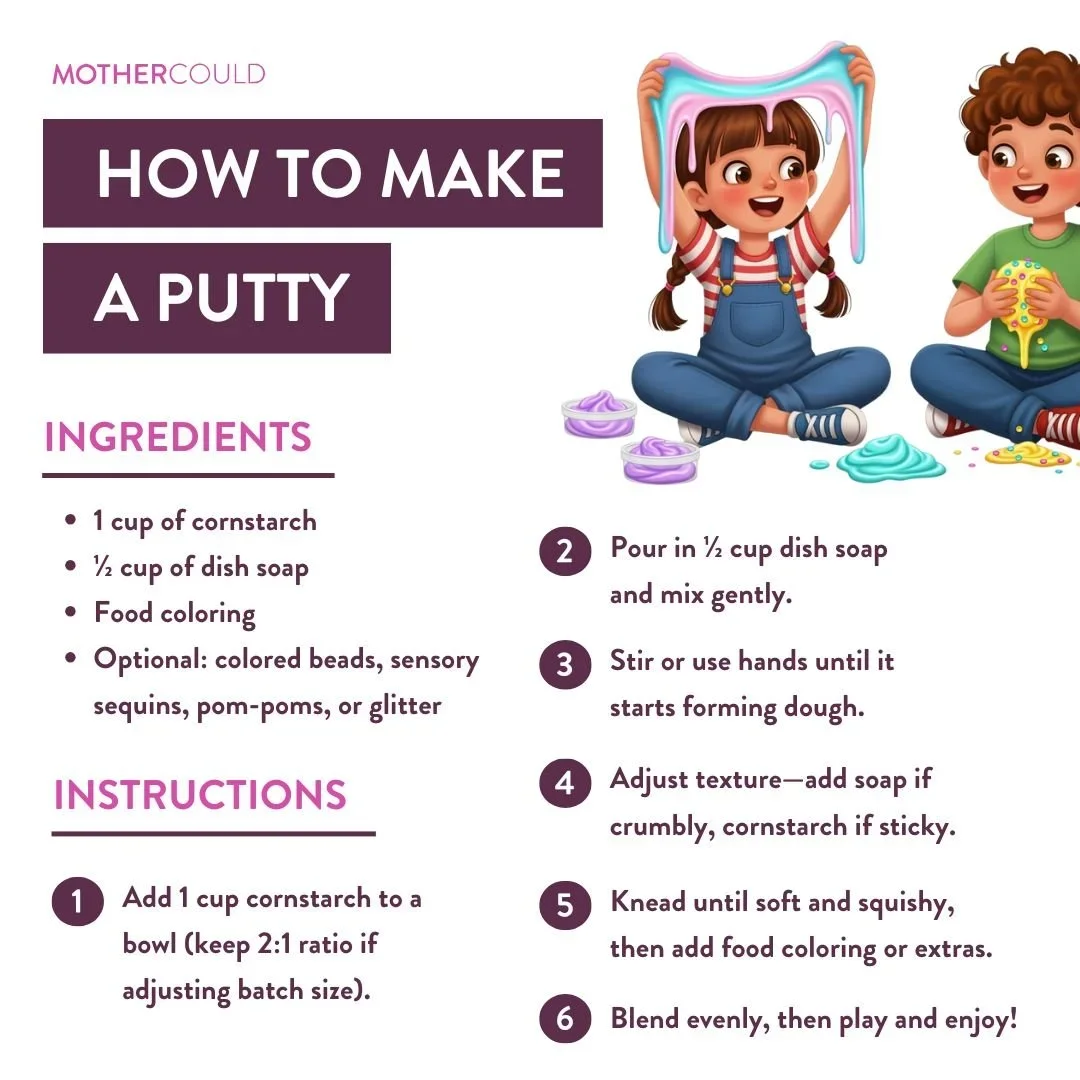
Ingredients:
1 cup of cornstarch
½ cup of dish soap
Food coloring
Optional: colored beads, sensory sequins, pom-poms, or glitter
Instructions:
Step 1: Add your cup of cornstarch into a large bowl. You can add extra cornstarch if you want to make a bigger batch—just remember to keep the 2:1 ratio of cornstarch to dish soap.
Step 2: Pour in the ½ cup of dish soap and gently mix it with the cornstarch. It may look crumbly, sticky, or mushy at first—all are totally normal!
Step 3: Use a spoon to continue stirring the mixture together. If you find this too difficult, use your hands to combine everything instead! After a few minutes, you should notice that dough-like texture. If it’s still too crumbly, add in a touch more dish soap. The same goes for cornstarch—if it’s too sticky, sprinkle a little extra in.
Step 4: Continue kneading until the putty has reached the desired consistency. Make sure it’s not too hard to squish, and not too soft that it falls apart.
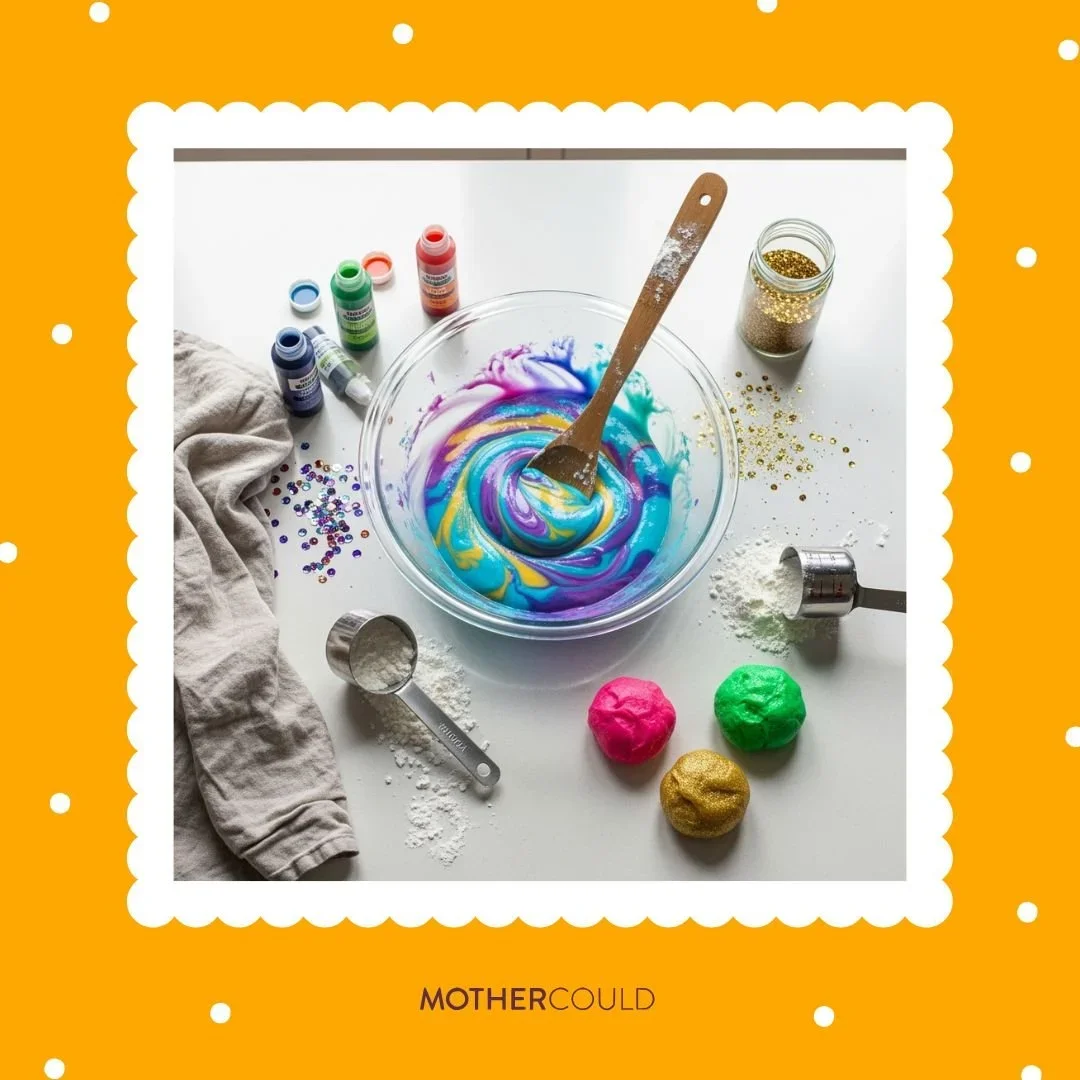
Step 5: Once you’re happy with how it feels, it’s time to customize! You can have your little one help out with this step. Add in a few drops of food coloring and any other additional add-ins. Knead for just a couple of minutes until everything is evenly blended.
Step 6: Now it’s time to play! If you need inspiration for finding the best activities for this material, make sure to check out the “Sensory Play” tab on the blog!
Putty isn’t just an exciting new material; it’s also a powerful sensory tool!
When we look for new materials to add to our sensory play toolkit, we want something fun and beneficial. And for parents who avoid slime at all costs (I get it, it can get a little messy!), putty is the perfect alternative. It’s soft, squishy, moldable, perfect for kids of all ages, and, best of all, SUPER easy to make! It’s a fantastic addition to your lineup of sensory-rich materials.
Want even more inspiration for enhancing playtime and fostering those essential developmental skills? Order our new book, Playful by Design! This guide offers tested insights, budget-friendly tools, and easy-to-follow tips—all designed to transform your home into a place of creativity and connection.
For more how-to guides, kid-friendly recipes, and engaging sensory activities, check out the Mothercould blog! Mealtime and playtime can feel tedious, but I’m here to show you that it doesn’t have to be! Also, don’t forget to join Mothercould In Your Pocket. Become a member for instant access to activity packs, cleaning hacks, and exciting play recipes!