
HOW TO MAKE ORNAMENTS OUT OF PLASTIC CUPS
As often as we can, we try to reduce, reuse, and recycle. One way we do this is through recycled crafts and DIY projects!
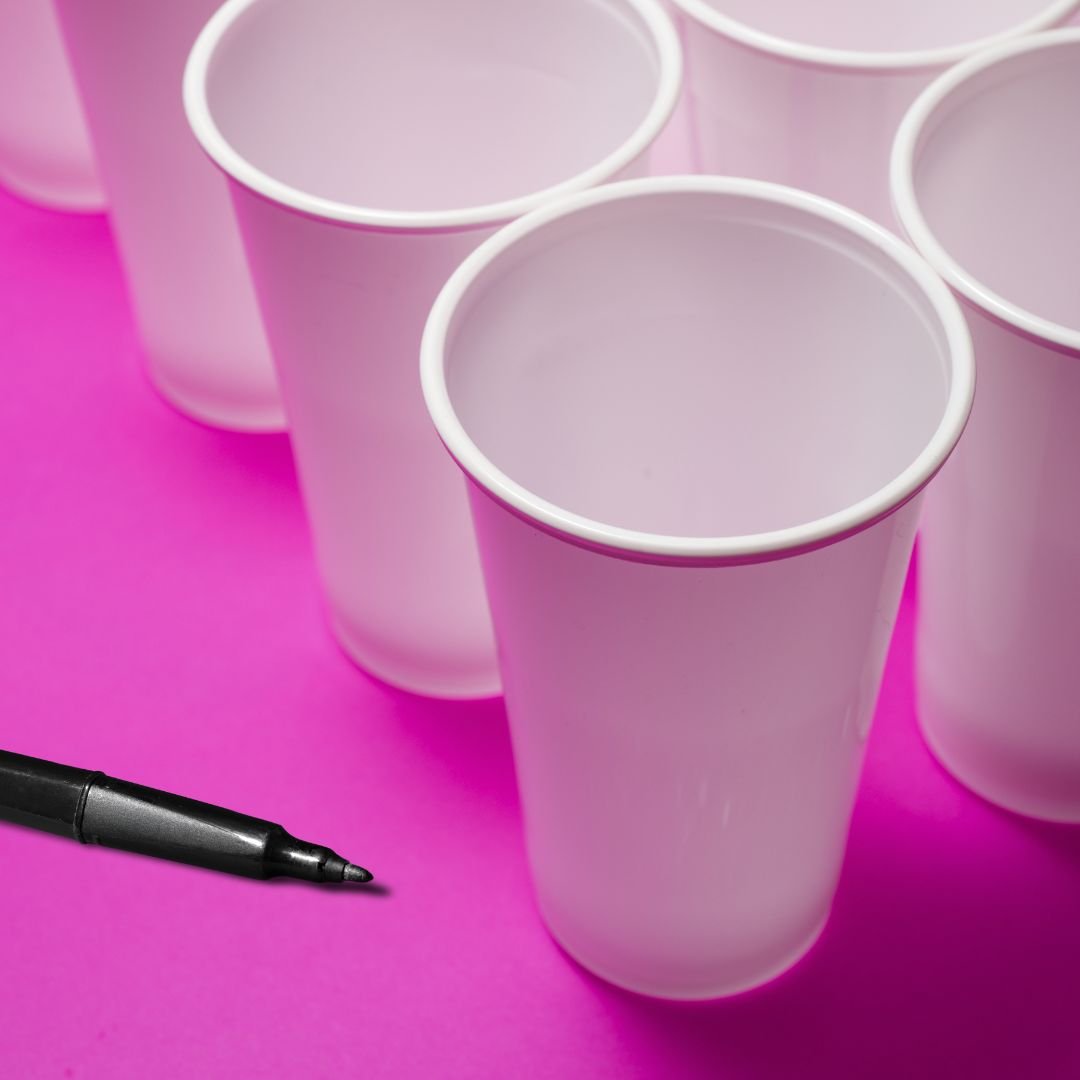
For this craft today, we’re reusing plastic cups to make ornaments!
This is the perfect activity for after a party when there are a lot of used plastic cups lying around. Instead of throwing them out, simply take those cups, give them a quick rinse, and make them into personalized holiday ornaments with your children.
Not only can they create something they’re proud of, but it’s also a great opportunity for sensory play and family bonding!
Here’s how to make plastic cups into DIY recycled holiday ornaments:
Plastic Cup Ornaments
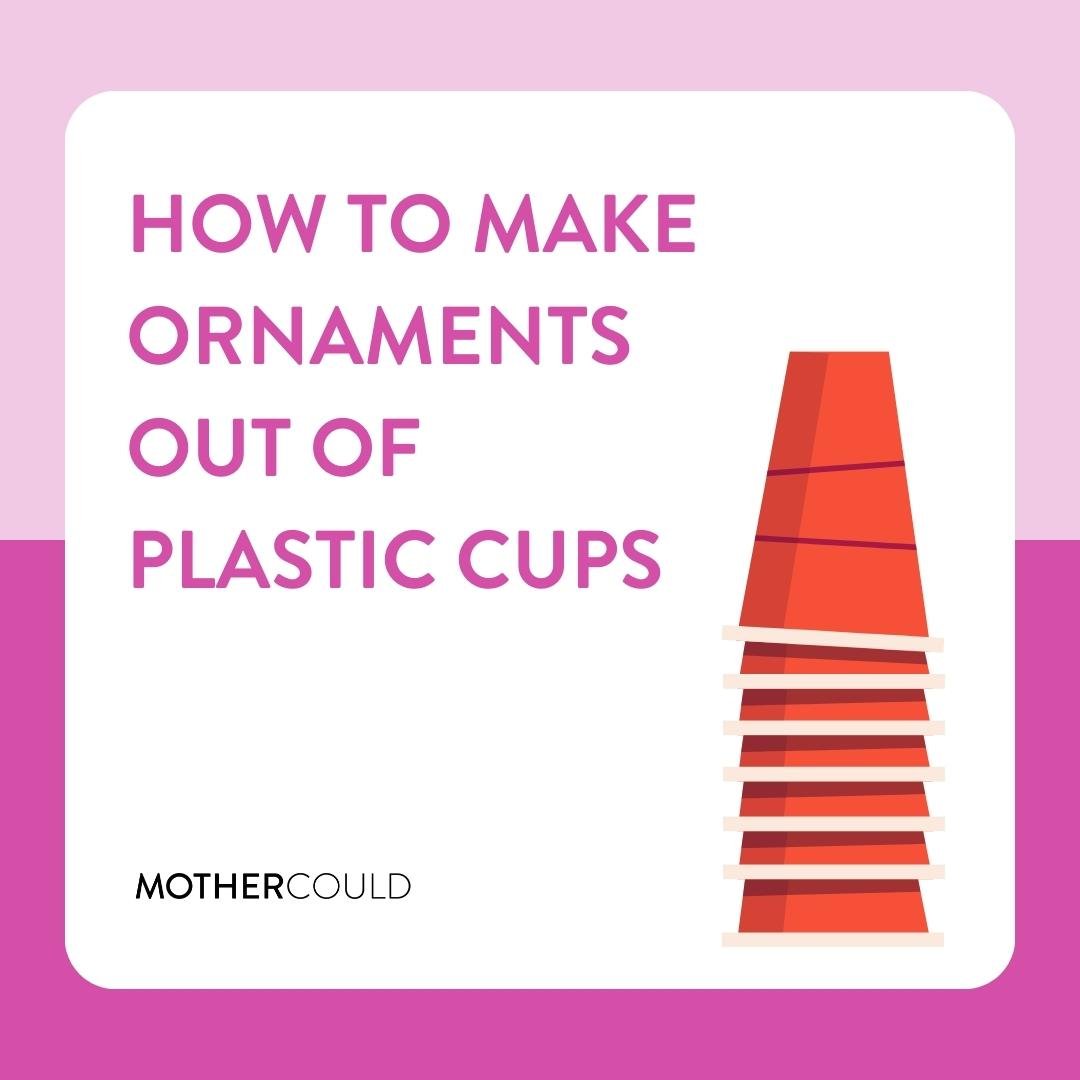
HOW TO MAKE ORNAMENTS OUT OF PLASTIC CUPS
Materials

Instructions
Preheat your oven to 250° F on the broil setting.
Prepare a sheet pan by covering it in tin foil.
If using recycled plastic cups, wash the used cups before using.
Create a space where your children can use permanent markers stress-free. Consider laying down disposable tablecloths and having your child wear old clothes or an art smock. That way, everyone can have fun with this craft! (Even you!)
Once you have your space set up, have your kids draw all over their plastic cups. If your kids are old enough, encourage them to make symmetrical patterns on the cylindrical surface of the cup. It creates a very cool finished product!
After the cups are all designed, place them 1-2 inches apart on the prepared sheet pan.
Place the sheet pan in the oven. Keep the oven light on to watch the cups melt together!
When each cup is melted and completely flat, remove them from the oven. (This will only take about 30 seconds.)
If some of the cups are a little wavy or wrinkled, use a porcelain or metal bowl to press them flat.
Let the cups sit to cool for around 5 minutes.
Now, take them back to the craft table for extra embellishments! Children could write on the ornaments, add more designs and patterns with glitter glue, or even decorate with stickers.
Once they’re complete, punch a hole in the top of the ornament.
String cord, ribbon, or pipe cleaners through the hole and tie.
Hang your ornaments on the tree and enjoy!

Tips for Making Plastic Ornament Cups
Permanent marker is probably going to end up where it shouldn’t. Here’s how to remove permanent markets from various surfaces.
Think beyond Christmas! You could make these into Halloween pumpkins, Easter eggs, Independence Day fireworks, or Valentine’s Day hearts.
If you don’t have tin foil, you can use a sheet pan without it. However, I recommend creating a designated sheet pan for crafts; don’t melt plastic on a pan you plan to cook with.
Test out the melting process with a plain cup to get a sense of the timing before you put your children’s precious creations in.
Add your kids’ names and the date to savor this memory forever!
Cut each ornament into multiple mini ornaments using a 3-inch hole punch. Then, use your smaller hole punch to make your hole for the string. Now, your kids can use these ornaments on their own DIY mini Christmas tree!
Make these recycled DIY plastic cup ornaments your family’s next holiday tradition!
Upcycling is one of the best ways to inexpensively create sensory play opportunities for your children!
You can find more recycled play ideas like these cardboard lacing boards and this straw marble maze on the blog and the Mothercould in Your Pocket resource.
Happy crafting!