
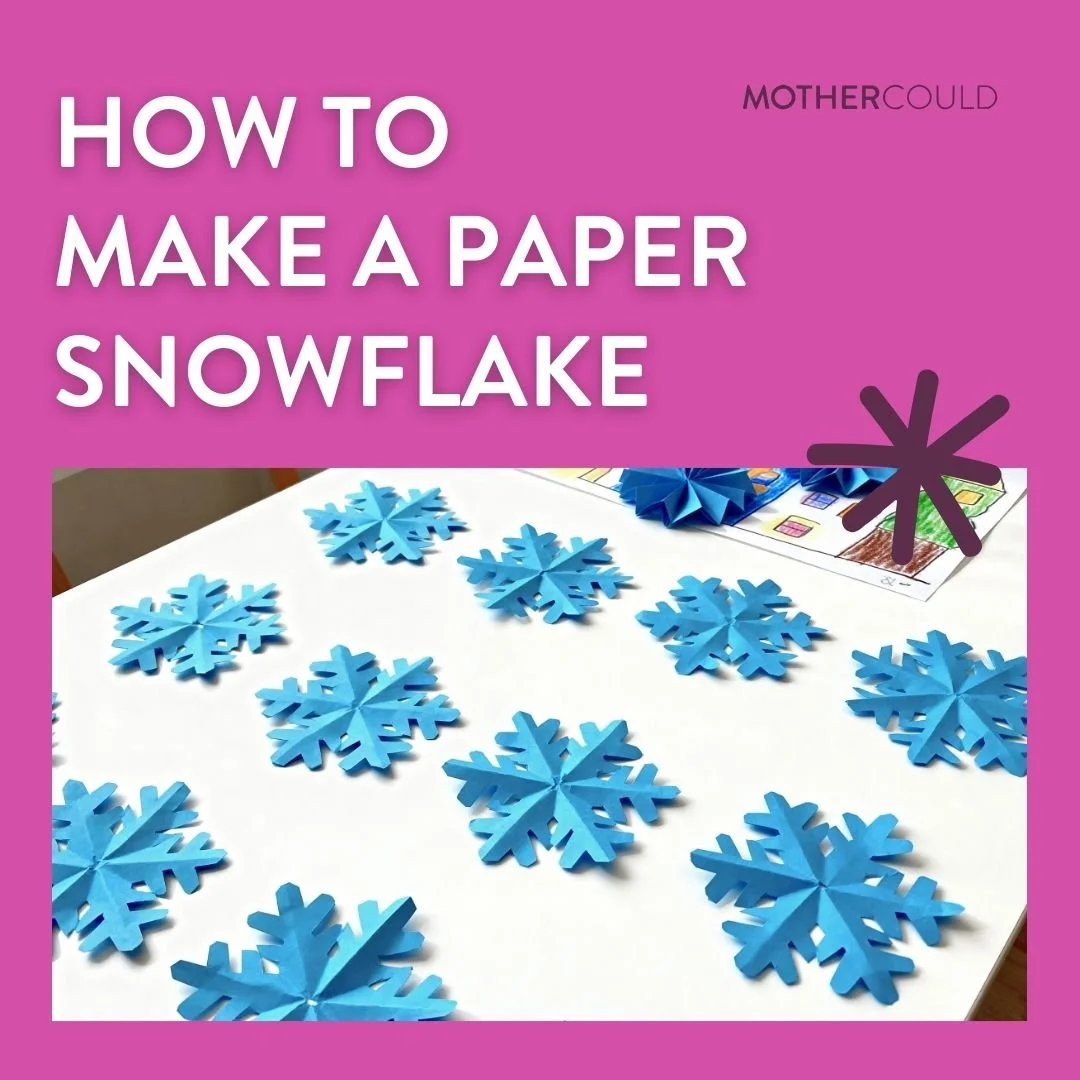
HOW TO MAKE A PAPER SNOWFLAKE: EASY WINTER CRAFT FOR KIDS
Whenever the weather turns chilly, crafting becomes one of my go-to activities. There’s nothing more exciting than lighting the fire, cozying up with blankets, and sparking a little creativity. (Which might just be accompanied by a tray full of homemade rice crispy treats!) Plus, what better way to keep little ones entertained indoors?
I’ve shared fake-snow sensory-play ideas, and we’ve had tons of fun with this Winter Activity Pack. However, there’s one activity I haven’t mentioned on the blog yet… paper snowflakes! Not only are they super easy to make, but the way children’s faces light up after creating something themselves? Priceless.
Today, I’m sharing an easy, stress-free guide to creating fun snowflake shapes all season long. And the best part? You probably already have everything you need right in the comfort of your own home! Grab your hot cocoa and crafting bin—it’s time to have some festive fun.
How to Make a Paper Snowflake: Easy Winter Craft for Kids
Celebrating the different seasons through arts, crafts, and sensory play is one of my favorite parts of parenthood. From simple shifts in the weather to fun holiday festivities, kids get SO excited to create, explore, and bring a little magic to whatever we’re doing.
Plus, the developmental benefits from arts and crafts definitely make everything feel a little more meaningful. That’s why today, we’ll explore how to make unique snowflake shapes and discuss how you can display them afterwards!
First, though, I feel like it’s just as important to dive into why paper snowflakes became such a popular craft. Knowing the history just adds an extra level of appreciation!

What Is the History of Paper Snowflakes?
Making paper snowflakes has been around for quite some time. And by that, I mean this sweet seasonal craft dates all the way back to the Victorian era! Long before we had Pinterest boards and sparkly craft bins, families were cozied up indoors—cutting, folding, and decorating paper to pass chilly winter days.
Paper crafting became so popular at this time that there were even books published about it. One of the earliest was released in 1864, titled Cloud Crystals: A Snowflake Album by Frances Knowlton Chickering. And, as you might have guessed, it was just a book full of different snowflake shapes! Since cameras weren’t as common, though, Frances ran to her paper and scissors, creating cut-outs of what she saw.
Years later, artist Florence Temko introduced Americans to the art of Kirigami in her book, Kirigami: The Creative Art of Paper Cutting. While the technique was already a long-standing part of Japanese culture, her book attracted a whole new audience. From there, kids all around the world began cutting, decorating, and creating tiny DIY snowflakes.
It’s fun to think about that, even a century later, we’re still folding and snipping the same way, waiting for that big reveal at the end. I know—it’s a lot more special than you may have realized!
Now that we’ve covered our history lesson of the day, let’s have some creative, crafty fun.
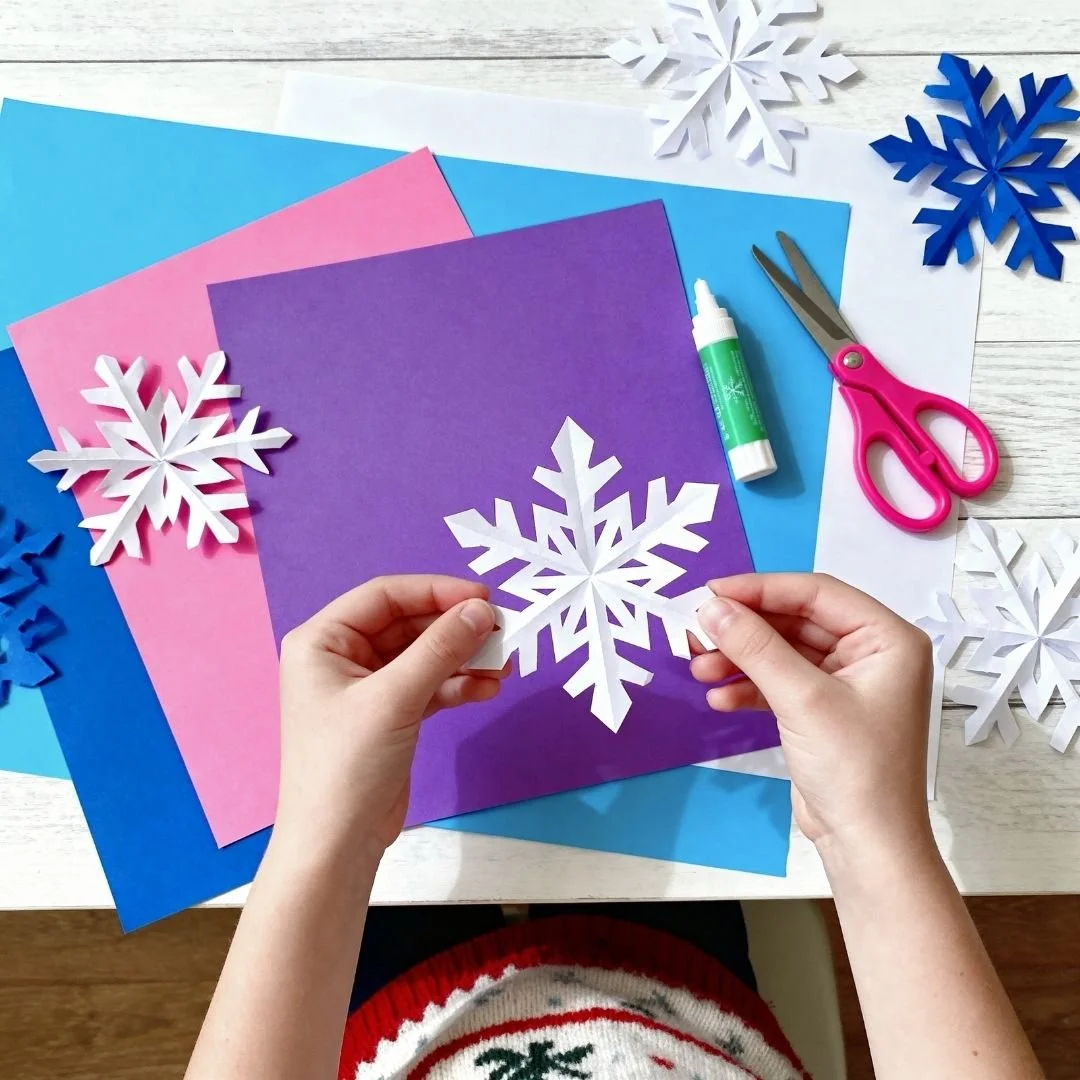
How to Make a Snowflake Out of Paper
Easy, DIY-friendly, and perfect for kids to customize, this play recipe is developmentally beneficial and exciting. Everything in the supplies list is completely optional—I just included everything I laid out for my little ones!
Supplies You’ll Need:
Square pieces of paper
Kid-safe scissors
Glitter
White school glue
Markers, paint, or colored pencils
Sensory sequins
Pom-poms
Instructions:
Step 1: Gather all materials. Before you get started, gather everything you’ll need. Since this activity requires scissors, you want to keep your hawk eyes out!
Step 2: Begin folding your paper. Starting with your plain piece of paper, fold it in half diagonally. It should look like a triangle! Next, fold the paper in half again to make an even smaller triangle. Now, fold the paper in half, then fold it in half again—you want the left corner to touch the right one! Same thing for this next fold: touch the bottom-right corner to the bottom-left one.
Step 3: Trim. Don’t start customizing just yet! First, trim those pointed ends on the bottom. Once you do that, you should have a small triangle.
Step 4: Cut patterns. This is where the fun begins! Begin cutting your snowflakes, trimming off tiny shapes around the edges. There’s no “right” or “wrong” way to do this—just don’t clip off the top of that triangle!
Step 5: Unfold. Now it’s time for the grand reveal. Slowly unfold the paper and admire the shape you made! It’s super easy to make it totally different each time—which is what I love most about this craft!
Step 6: Decorate. Once your child is happy with the shape, it’s time to decorate it. Let them pick out their favorite paint colors and embellishments, using their creativity to decorate it however they wish. Ta-da! You’re done!

What to Do with Paper Snowflakes
Now that you have all these keepsake-worthy snowflakes, what’s the most exciting way to display them? Here are a few of my favorite ideas:
Create a small DIY wreath. What better way to display your snowflakes than with an indoor homemade wreath? Just grab a piece of foam paper (in whatever color you want!), cut out a circle, and glue on your snowflakes. Then, use hot glue to attach a ribbon and hang it up on the door!
Use them for garland. No need to spend money on a garland—just make it yourself! Start by grabbing a long piece of yarn, thread, or ribbon. Then, cut it to your desired length. Add a small dot of glue to the top or back of each snowflake, then attach each to the yarn. Make sure they’re evenly spread out! You can place your customized garland on fireplace mantles, doorways, tops of curtains, or TV stands.
Tape them to windows. Pretend you’re in a winter wonderland by attaching paper snowflakes to windows! All you need is a tiny piece of tape, a handful of paper snowflakes, and a vision. If your little ones made different sizes—even better.
Use them as gift toppers. Who doesn’t love a custom, handmade touch with their Christmas or birthday gifts? Just wrap or bag a present like normal, glue or tape the snowflake on top, and voila! For an extra special touch, you can even write the “To” and “From” labels on the snowflake.
Hang them from the ceiling. Don’t want to attach tape to the windows? Understandable. Instead, create a similar snowy effect by hanging each snowflake from the ceiling. Just use invisible thread, tape the snowflake on, and attach it to the ceiling with a tiny piece of tape. Easy, simple, and fun!
Elevate wintery arts and crafts with these paper snowflakes!
Don’t get me wrong—I love crafting with my kids all throughout the year. But during the wintertime? It feels like an instant invitation to celebrate, get creative, and spend some quality time together. And when you find a craft that’s as fun and easy as this one, it makes it even more exciting to incorporate all season long! Looking for more winter crafts for kids? Head to this post!
Want even more ways to foster growth and confidence? Check out our new book, Playful by Design! This resource is dedicated to planned play spaces, decluttered environments, and strategic toy-rotation systems. Even better? Parents finally get a chance to catch their breath! Also, head to the Mothercould blog, where you can find play recipes, arts-and-crafts ideas, and kid-friendly meals, like…
Don’t stop there, though—join the Mothercould In Your Pocket resource! Here, you can find 60+ printable recipes, activity packs, guided play tutorials, and more! And finally, head over to Instagram, where I’m constantly sharing gift guides, exciting play recipes, and tons of my favorite mom hacks.