
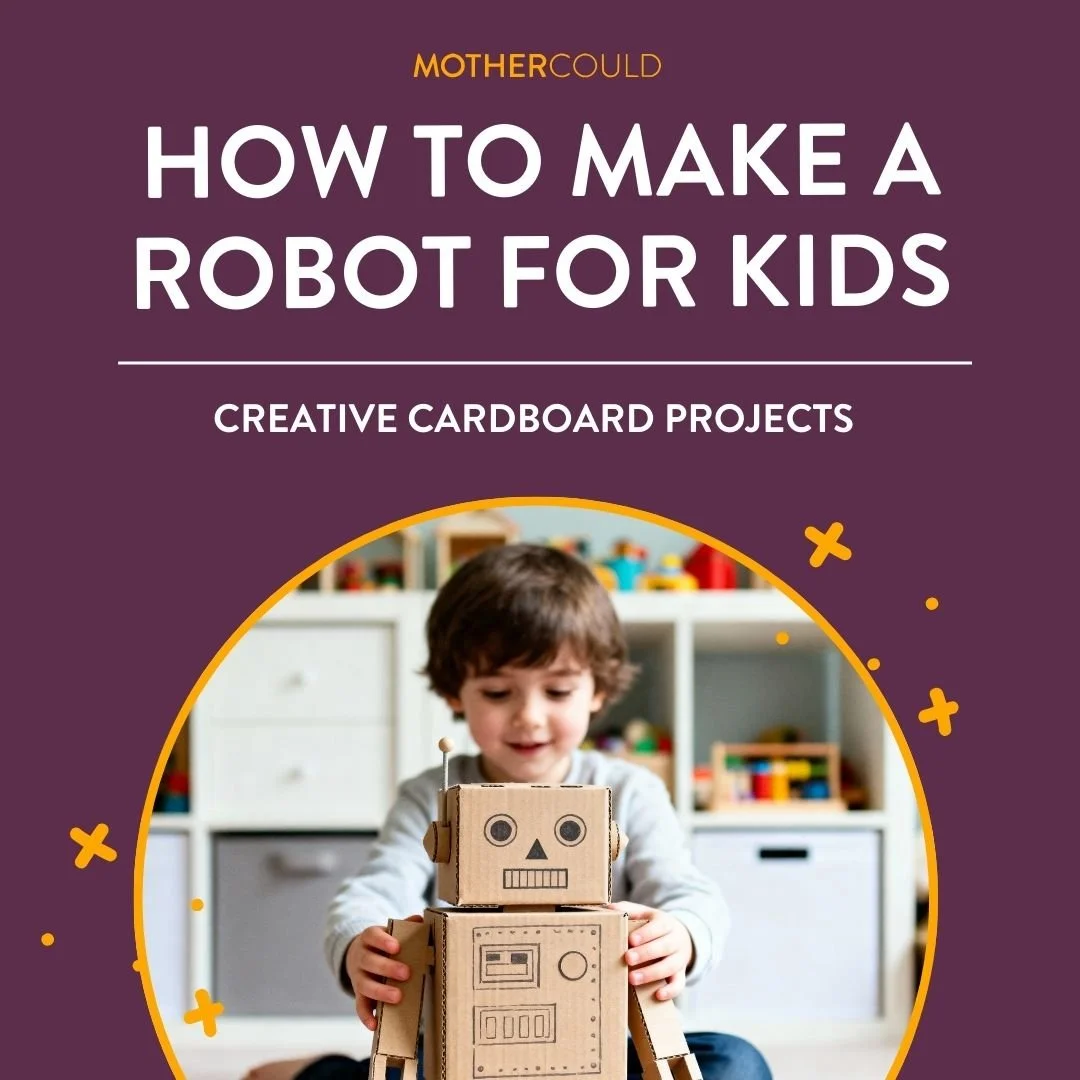
HOW TO MAKE A ROBOT FOR KIDS: CREATIVE CARDBOARD PROJECTS
If your kids are anything like mine, they have toys of all kinds scattered throughout the playroom. Tile mazes, sensory bottles, and, of course, a handful of little robots. It’s no surprise, though—with blinking lights, moving parts, and little imaginary personalities, robots are more than just toys to kids! They bring stories and adventures to life.
However, what if you could make a robot for them? Yes, you read that right! Except here’s the thing: you don’t need an engineering background, risky wires, or tiny, complex tools. Building robots from scratch is much easier than that. All it takes is cardboard, creativity, and a little DIY magic.
So today, I’m sharing an easy, stress-free guide for making a robot at home. Not only is it a thrilling project, but playing with cardboard robots helps kids grow their skills in fun ways! (Don’t worry, we’ll get into that, too.) Grab your kiddos and let’s have some fun!
Oh, and if you are dealing with a chaotic playroom, then check out our new book, Playful by Design! This resource is full of organizational tips that declutter play areas, transforming them into thoughtfully planned spaces that encourage creativity and independent play.
You can also check out these posts: “Messy Playroom Makeover” and “Step-by-Step Guide on How to Clean a Playroom.”
How to Make a Robot for Kids: Creative Cardboard Projects
This isn’t the first (or the last!) time we’ve taken a fun, easy, DIY approach to crafting and sensory play. From “How to Make a Spider Out of Pipe Cleaners” to “How to Make Snow Globes without Glycerin,” there’s something so special about turning everyday materials into magical, hands-on projects.
And robots just so happen to fall into that category! It sounds intimidating on the surface, but I promise, it’s just as easy as it is fun. Before we get started with the steps, though, let’s take a second to talk about how robots work. I’ll also share a few ways they’re enriching and developmentally beneficial, too!
What Is a Robot for Kids?
Generally speaking, when you think of robots, you probably have a specific idea in mind. Small mechanical or electrical toys that move, make noise, perform actions, and are controlled via buttons or remote controls. They even come in different styles—like LEGOs, animals, figures, or cars.
And I know what you may be thinking! While exciting, they’re essentially just grab-and-go toys that kids can dive into without any instructions or setup. At the same time, you’re probably assuming they don’t have any real benefit—aside from easy enjoyment!
However, you’d be surprised to learn how enriching they truly are. When kids play with robots, they’re actually working on critical thinking, problem-solving, creativity, hand-eye coordination, and fine motor skills. Who knew?!
Add a DIY reconstruction to the mix, and robots work as an engaging, hands-on STEM activity that ignites children's natural curiosity. That’s not all, though. Even though you’re creating a robot out of cardboard, sensory embellishments, and a few markers, kids still feel a HUGE sense of achievement! Seeing their hard work come to life is where the magic happens.
Needless to say… When an activity blends educational benefits with exciting, captivating fun? I’m all in!

How to Build a Robot for Kids
Materials:
Cereal box (body)
Tissue box (head)
Mac and cheese boxes (feet)
Aluminium foil or metallic tape
Toilet paper rolls cut in half
Hot glue
White school glue
Foam paper
Plastic straws
Large bottle caps
Decorative items (pom-poms, sequins, glitter, gems, buttons, etc.)
Instructions:
Step One: Gather Materials. Before diving in, grab everything you need. This way, you aren’t digging around mid-project!
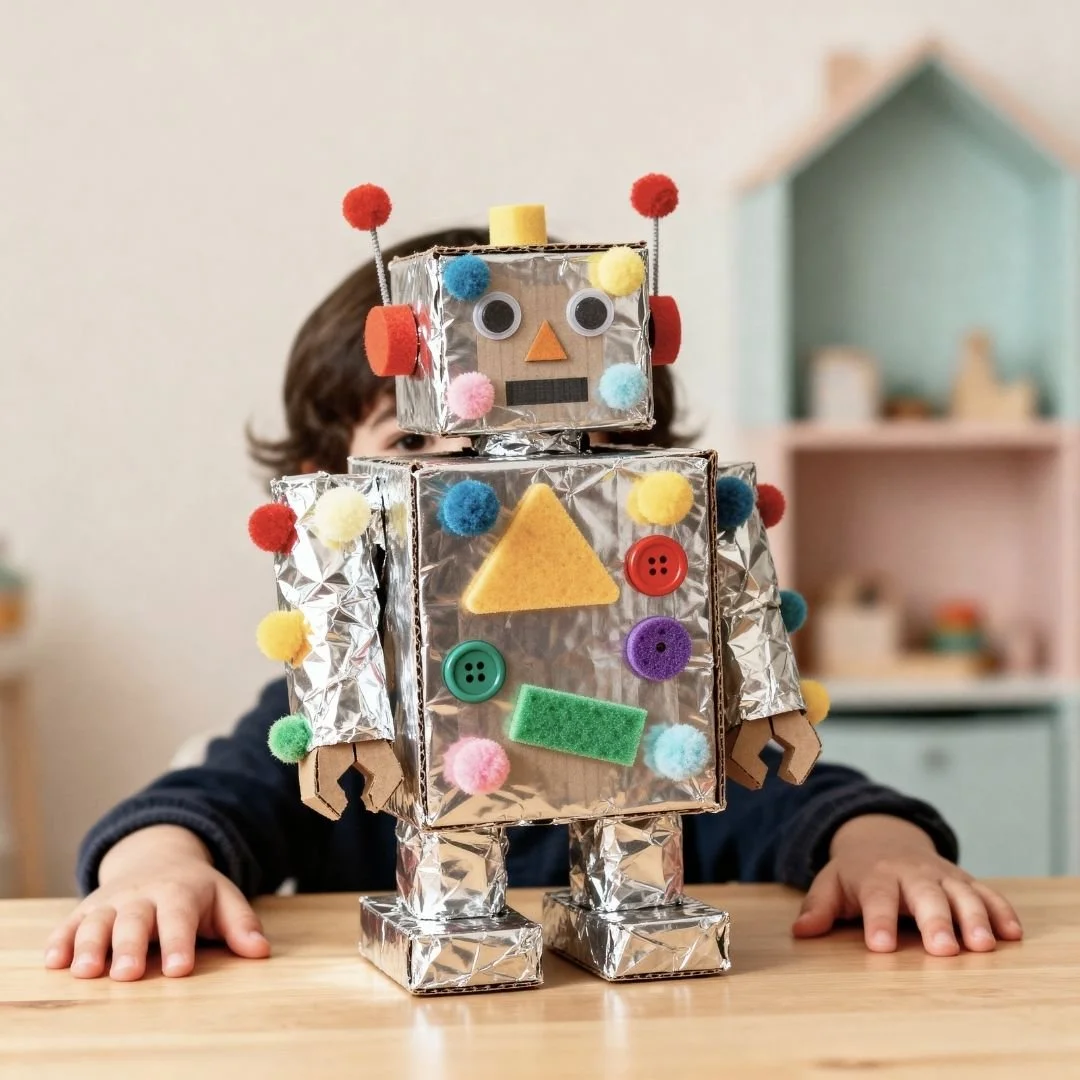
Step Two: Cover Everything in Foil or Tape. Before assembling anything, give each piece its shiny “robot look.” You can use aluminum foil or, if you’re worried about rips, opt for metallic duct tape. You want to tape every piece separately—it’s much easier!
Step Three: Glue on the Head. Once you’ve wrapped everything, glue the tissue box head to the top of the cereal box body.
Step Four: Attach the Arms. Line up each halved toilet paper roll with the sides of the body. Then, add hot glue to the underside of each arm and press firmly to secure.
Step Five: Attach the Legs and Feet. Add a thin line of hot glue around the rim of each halved roll to attach the legs under the body. Do the same for the other side, gluing the mac and cheese boxes onto the bottom of the roll.
Step Six: Add the Ears and Antennas. Cut a plastic straw in half and glue both pieces on top of the head. Then glue the large bottle caps to the sides of the head for the little robot “ears.”
Step Seven: Add the Face. You’re done with the hard part! Now, cut foam paper into eyes, a mouth, and fun little buttons.
Step Eight: This is the best part! Let your kiddo decorate with whatever sparks their imagination. Once it dries, your cardboard robot is ready for play!

Enhance playtime with this DIY cardboard robot!
As fun as store-bought robot toys can be, nothing beats craft time with kids. The excitement they feel when they get to create (and play with) a robot from scratch? Seriously, nothing beats it. And since this craft is so easy to make, have fun and get creative! Make different colors, shapes, styles, and sizes. It’s the best way to bond, foster creativity, and add a few developmental benefits in there all at the same time.
Also, it’s no secret that trying to keep the harmony between playtime and organization can be… challenging, to say the least! However, when you order Playful by Design, that balance becomes effortless. This step-by-step resource walks you through creating thoughtfully planned spaces and turning boredom into an opportunity. And, you get some time to finally catch your breath!
Don’t miss out on everything over on the Mothercould blog. You can find kid-friendly recipes, sensory play activities, arts-and-crafts ideas, and much more! And, of course, head over and join Mothercould In Your Pocket for 60+ printable activities, cleaning hacks, and activity packs.