
HOW TO MAKE BUBBLES: EASY RECIPES AND FUN ACTIVITIES
When you really dive into the world of sensory play, you start to see how versatile everyday materials can be. We’ve created clear homemade slime using baking soda and glue, taste-safe playdough from all-purpose flour and vegetable oil, and homemade putty from dish soap and cornstarch. And the best part? These playful tools are brain-boosting and offer endless hands-on fun!
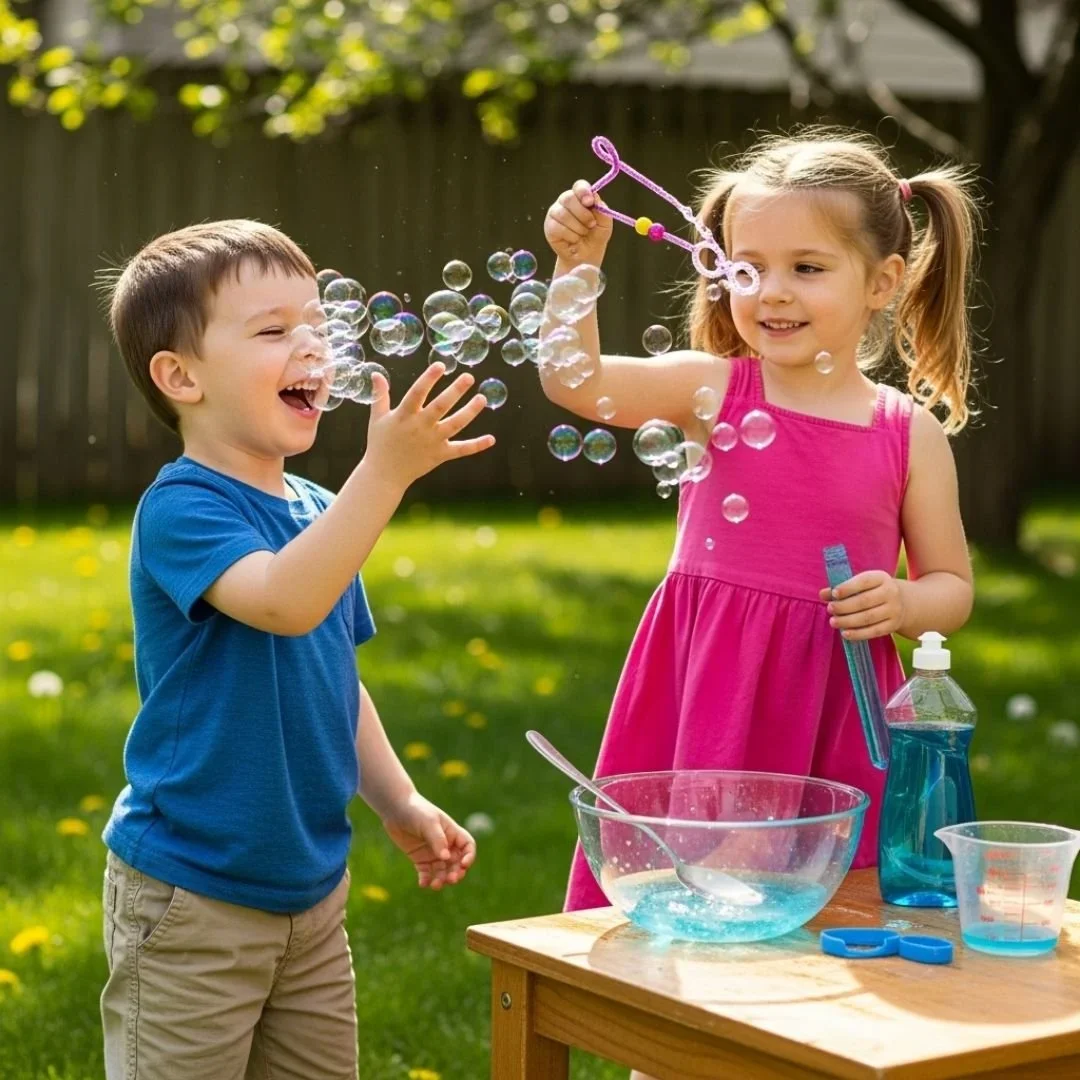
We’re missing one last favorite, though… Bubbles! As simple as they may be, bubbles are a fantastic way to keep kids entertained as they develop essential skills. Think: Hand-eye coordination, cause-and-effect, spatial awareness—and more! However, store-bought bubbles can get pretty expensive, especially when it feels like the bottle runs out just as the fun’s beginning.
This is exactly why I started making my own! Not only is it super easy (and inexpensive!), but these homemade bubbles are even better than the store-bought kind. So, today, I’m sharing that recipe with you all! I’ll tell you how to make a DIY bubble solution, cover what materials you need, and share a few fun bubble activities. Let’s get started!
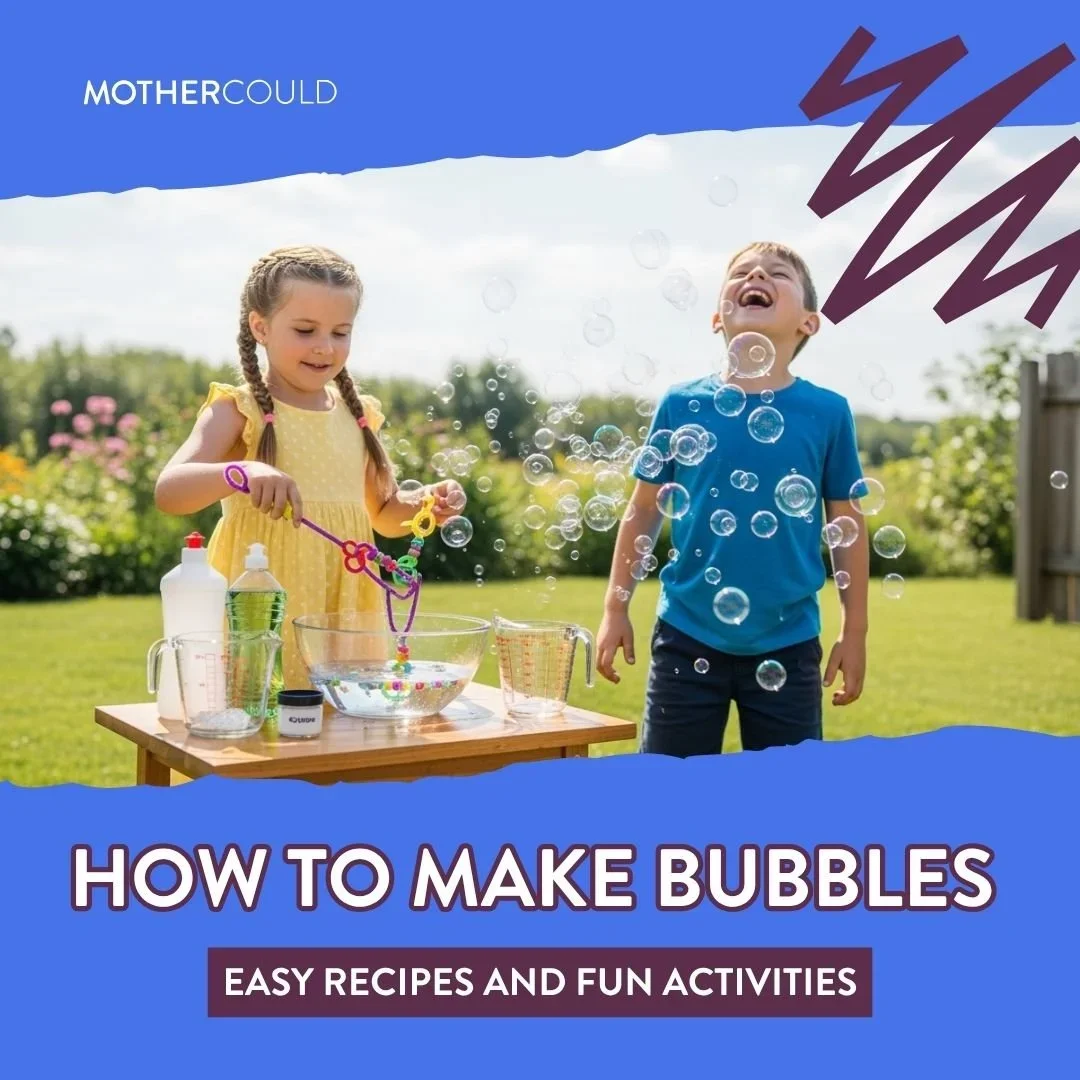
How to Make Bubbles: Easy Recipes and Fun Activities
It’s easy to feel like picking up sensory play materials from the store is the most efficient option. No trial-and-error science projects, no searching the internet for the “perfect” recipe, no messy prep—just instant fun. However, making homemade, kid-friendly materials is almost always easier than you think it will be.
And when it comes to bubbles, all it takes is three ingredients and a few minutes of prep for an afternoon full of fun. Plus, there’s nothing like the peace of mind that comes from knowing exactly what your little ones are playing with. A lot of bubbles contain harsh chemicals, detergents, and preservatives. While they’re not bad, they’re also not great—right?
That said, this homemade bubble solution recipe is easy to make, inexpensive, and kid-approved—all of my favorite things!
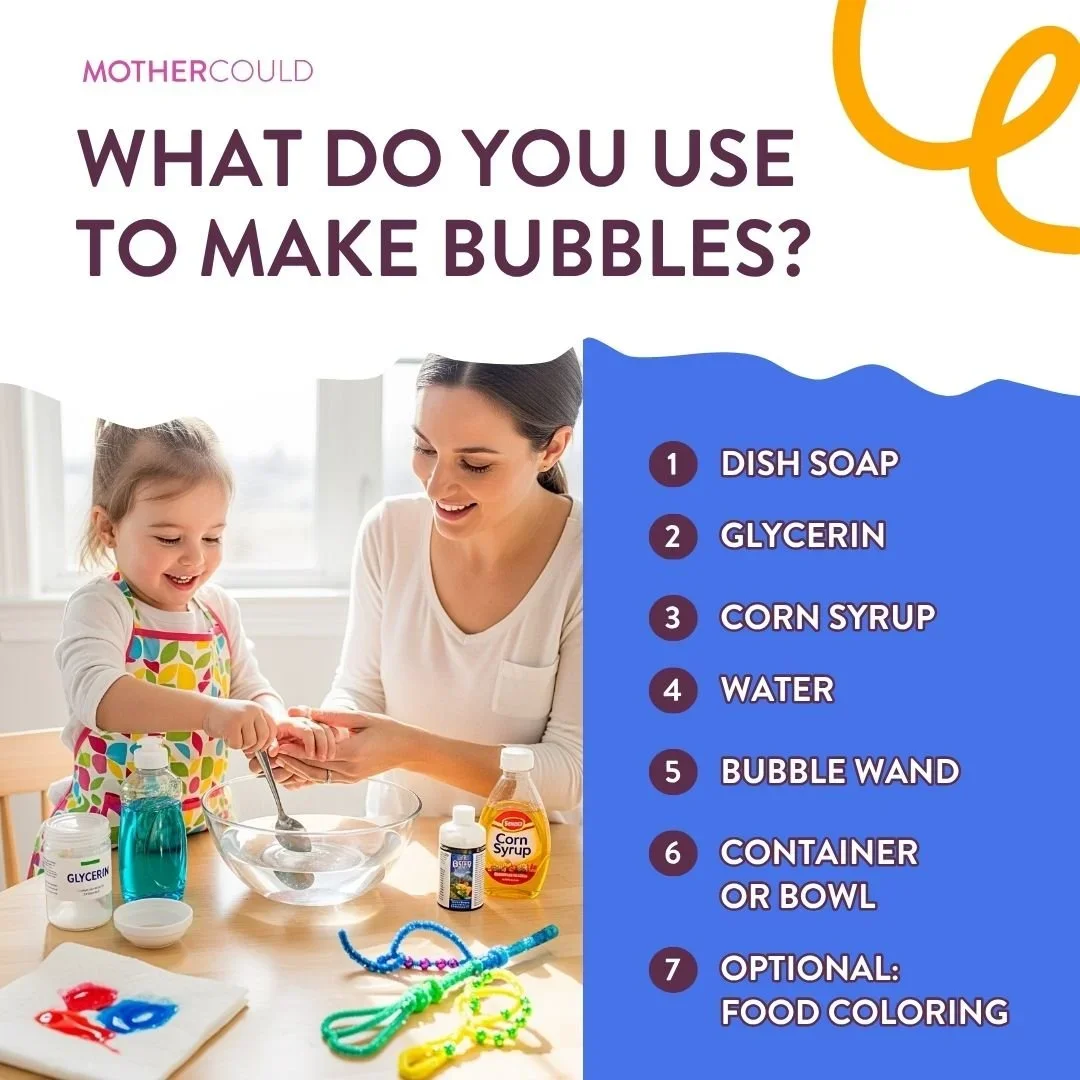
What Do You Use to Make Bubbles?
Dish Soap: This is the most common ingredient when making DIY bubbles at home. Because dish soap is a surfactant, it lowers water’s surface tension. This is a fancy way of saying it helps water stretch into a thin film!
Glycerin: If you want stronger, longer-lasting bubbles (who doesn’t?!), then add in a bit of glycerin! This ingredient, especially when combined with dish soap, slows down water evaporation and thickens the solution. This is how you get those giant, jaw-dropping bubbles you see all over social media.
Corn Syrup: Don’t have any glycerin on hand? No worries! Just add corn syrup instead. Like glycerin, corn syrup slows down evaporation, helping the bubble last longer.
Water: A bubble recipe wouldn't be complete without a little bit of water! This will act as the base of your soapy mixture, blending everything together.
Bubble Wand: If you have a little bit of pipe cleaner and a bowl full of colorful beads, you’ve got bubble wands. And, honestly, creating these fun tools can be an activity in itself! Just bend the pipe cleaners into the shapes you want, slide beads on the “stick” part, and ta-da! Your little ones have a handmade wand that they’ll enjoy making and playing with.
Container or Bowl: If you have one, a larger, shallow tray or container works best for this here. Or, you could also use a larger sheet pan! You want to provide enough space for your little one to dip their bubble wand in without tipping or spilling the mixture.
Optional: Food Coloring: Depending on the activity, try adding a few drops of food coloring to your bubbles! This won’t change the consistency; it simply transforms your child’s bubbles into a bold and colorful sensory experience.
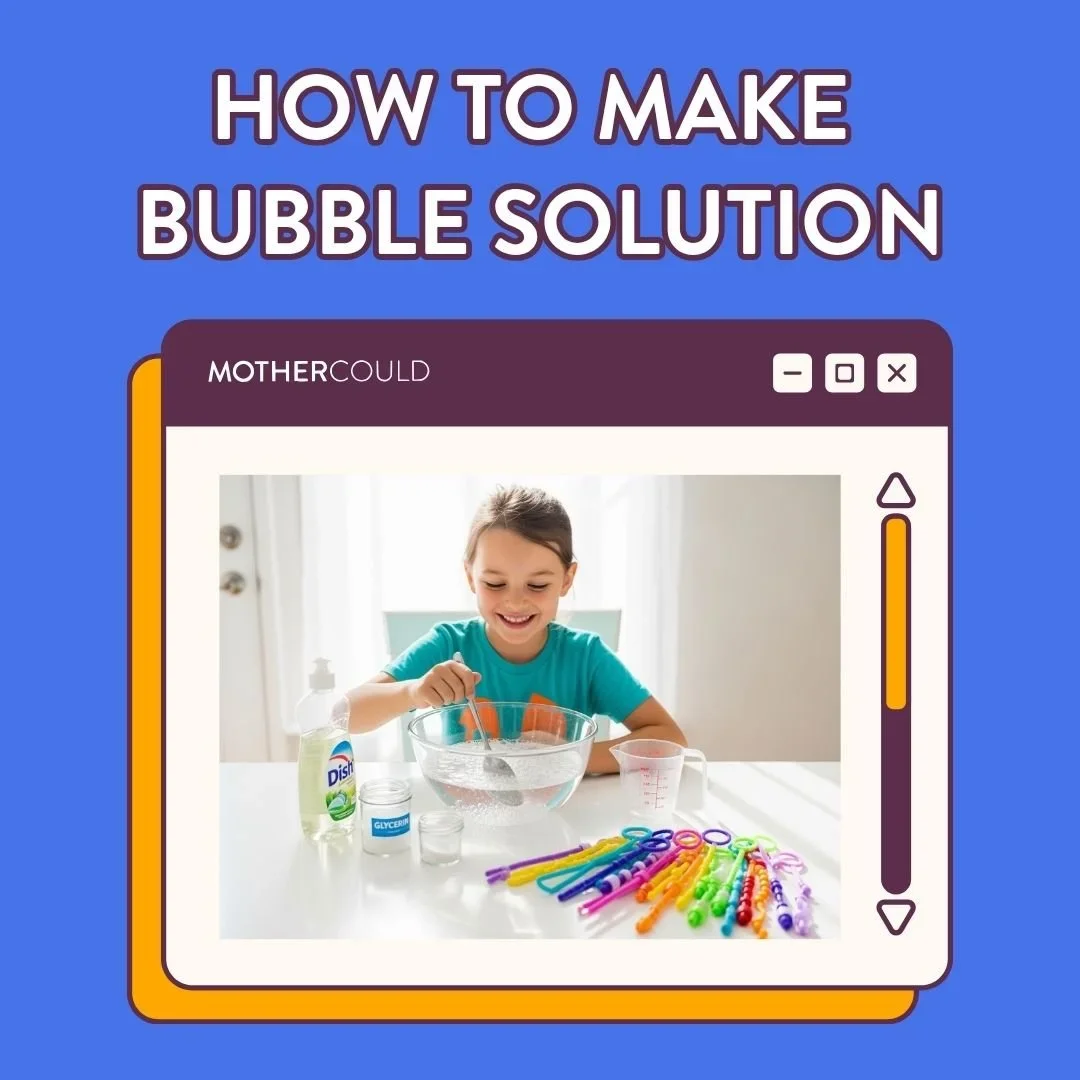
How to Make Bubble Solution
Ingredients for Homemade Bubble Solution:
4 cups of warm water
⅔ cup dish soap
2 tablespoons of glycerin for long-lasting bubbles, or 2 tablespoons of light corn syrup for thick and shiny bubbles. (You don’t need both!)
Optional: 5-8 drops of food coloring
Instructions for Homemade Bubble Solution:
Step 1: Grab a bowl, mason jar, or bucket—whatever works best for you! Then, measure all of your ingredients and dump them right in. Remember, you don’t need glycerin and corn syrup, just choose one or the other!
Step 2: Begin stirring the solution—super slowly! You want to prevent the soap mixture from foaming too much. If you stir too fast, you’ll end up with tiny, quick-to-pop bubbles instead of those big, magical ones your kids can chase around the yard.
Step 3: Once everything is fully blended, add a couple of drops of food coloring! Just a quick PSA—if your kids are only blowing bubbles, it’s best to skip this step to avoid any stains. But if you’re diving into the creative bubble activities below, go wild with the colors!
Step 4: DIY bubble solution is a bit different than the kind you’d pick up at the store. After you’re happy with the mixture, you’ll want to let it rest for a while. You can pick it up after a few hours, but I’ve found that leaving it overnight gives me the best results!
Step 5: After letting the solution sit, test it to see how the bubbles turn out! If they’re popping too quickly, just add in a bit more glycerin or corn syrup.
Step 6: Get creative with your bubble wands for a totally unique experience, and then you’re ready to play! For easy access, I recommend pouring the mixture into a shallow tray.
Bubble Activities for Kids: Sensory Play Meets Playful Exploration
There are so many exciting ways you can use this material for engaging and creative playtime. Here are a few of my favorites:
Unique Bubble Painting Art Prints
This bubble painting activity is all about blowing bubbles—but not in the way you think! Start out by filling a cup with your DIY bubble solution. Then, grab a straw and snip it where it bends. You should be able to blow out, not suck in. (Make sure to test it out before handing it off!)
Then, place the straw inside the cup and have your child blow bubbles. Remove the straw, place a piece of white paper on top until the bubbles pop, and ta-da! You now have the perfect piece of bubble artwork. It’s creative, aids in oral motor skills, and is a fantastic lung exercise.
Bubble Science Experiment
If you used the Skittles rainbow experiment to teach science in a kid-friendly way, then you’ll love this activity! It’s so simple and is the perfect opportunity to combine STEM concepts with hands-on play.
All you need to do is blow bubbles on different surfaces, like metal, plastic, and wood. Then, record how long it takes for each bubble to pop. (Hint: bubbles will last longer on wet or soapy surfaces!)
Create-a-Wand Activity
Remember earlier when I mentioned how fun making bubble wands could be? It’s time to put that idea to the test! This bubble game challenges everyone to get creative and design the coolest, most exciting wand. (And who can blow the biggest bubbles!)
You don’t have to just stick to pipe cleaners and colorful beads, either. You can use cookie cutters, plastic bottles, popsicle sticks and yarn, or any kitchen utensil with holes in it. It’s part art project, part science, and 100% fun.
Skip the store-bought bubbles, this homemade bubble solution is simple, safe, and fun!
The developmental benefits aren’t the only reason I love sensory play (though that’s definitely part of it!). It’s the joy, curiosity, and connection it brings to everyday moments. Every activity becomes a hands-on adventure, encouraging little ones to explore, interact, and immerse themselves in a world of opportunity.
Looking for other ways to encourage enriching, self-directed play and creativity? Order our new book, Playful by Design! This resource acts as a step-by-step guide for creating thoughtfully planned spaces, maintaining a toy rotation system, and turning boredom into an opportunity for learning. It’s your guide for balancing “mom time” and “me time.”
Also, be sure to head to the Mothercould blog! I have tonsof kid-approved DIYs, quick and nutritious recipes, and cleaning hacks you’ll always appreciate having on hand. And, of course, make sure to join Mothercould In Your Pocket. As soon as you join, you’ll receive instant access to printable recipe cards, helpful how-to guides, and printable activity packs!